


Shop
Virginia, USA
Contact
- JohnDavidHendrick@gmail.com
- 0123 22123 2323
Quick Links
© Copyright 2021 RedWrigglersFarm.com. All right reserved.
A Worm Bin. Two basic options are available. Firstly, a number of shallow, stacked containers with a screening on the base of each container. After the worms digest the food waste in the first basket, they move to the top bin, looking for fresh, non-digested food. The finished compost can be removed after the worms have moved out. Down and fill the empty bin with bedding and kitchen scraps. The Worm Farm Composter is a business version of this design. A large, shallow box with a lid and ventilating hole on the side and drain trough on the floor is also available. The bin (worms don’t like light) should be opaque and cover should maintain the moisture and keep the light out. Food is then added to one side of the bin at a time so that the worms have time to eat each other. A large plastic container works very well (20″ x 30″ is a good size to start with). Do you recall drilling a lot of holes? Half-inch lower holes at least 8 and the sides at least equal number. Capture any drips with a tray under the bin.
It is important to maintain a balance of carbon and nitrogen in your worm bin, just like in a regular compost pile. Bedding material has a dual function. It serves as both a food source for the worms and as a way to moderate moisture levels in the bin. It also controls odor and helps ensure good aeration. Worm bins typically use shredded newspaper or dry leaves as bedding.
A handful of carbon-rich bedding material can be added whenever you add kitchen scraps to keep odors and worms at optimal performance. You can save yourself time and hassle by collecting several trash bags full of shredded paper or crushed dry leaves. Because matting could occur, pieces no longer than 1-inch on a side should be used. For best results, shred the paper beforehand, and then chop the shreds into shorter lengths. Coconut Worm Bedding is another good option. It is available in bricks, which are very convenient.
Scraps from the kitchen (Nitrogen). Worm bins are best suited for composting kitchen waste from one household. Worms cannot handle the volume of yard and garden refuse, so it should be placed in an outdoor bin (the worms won’t survive in that kind of waste).” In addition to food scraps (cooked or raw), coffee grounds and tea bags are good for feeding your worms. Make a habit of putting all fruit in your outdoor compost bin to avoid problems with fruit flies. Besides eggshells, other items that should not be added to the worm bin are bread, meat and dairy products, oils, and any fatty foods (difficult for the worms to digest).
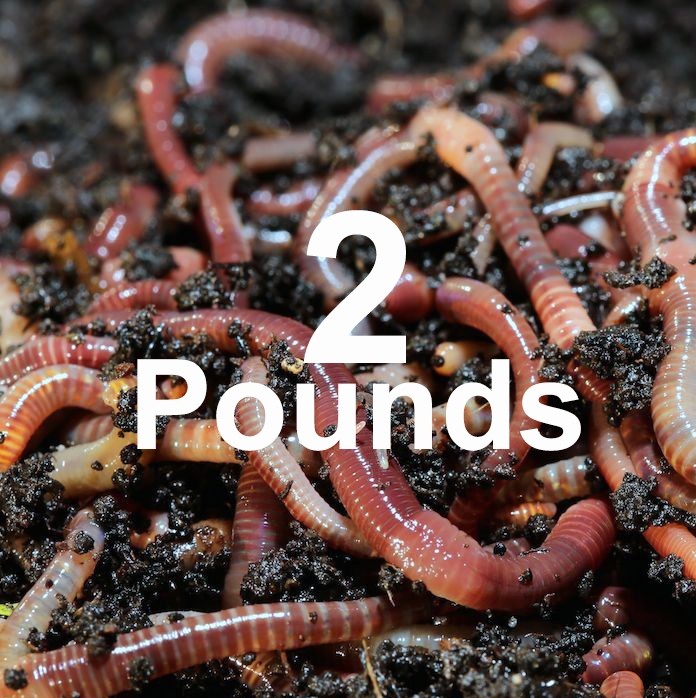
Easily available: worms. Red wigglers, also known as Eisenia foetida, are the right worms for a worm bin. It is not like other kinds of worms, and thrives in a temperature range of 55 to 77 degrees Fahrenheit. A pound of red wiggler worms will process approximately 0.5 to 1 pound of kitchen scraps per day, if provided with adequate food and suitable living conditions. When new worm bins are installed, the worms mate, lay eggs, and begin to multiply within a few weeks. You will be able to count on having an abundant supply of worms for a long time to come. A friend who has a worm bin may be willing to share some additional worms with you so you can get started.
Half full of moistened bedding material should be placed in a bin. Bedding material moisture content should be that of a thoroughly wrung sponge. To provide grit for the worms’ bellies, sprinkle some ground coffee or sand on top. Before adding any kitchen scraps, allow the worms to spread to the top of the bin and cover it for a week.
Take about 4 cups of scraps and chop them into 1-inch pieces. Make a layer of used bedding and sprinkle it over the existing bedding. Then add some new bedding over the top of the new layer. The scraps should be left in place for a couple of days so that the worms have a chance to get started.
You should bear in mind that food scraps can’t be eaten until they start to rot. Worms can’t keep up if you overfeed the bin, resulting in a slimy, wet bin of spoiled food scraps.
Whenever the worm population in your garbage bin begins to grow, you can add layers of garbage every day and always keep a small amount of bedding material beneath them to hold in the moisture and keep odors at bay. Instead of layering, you can also lift up some of the existing food scraps and fresh bedding material and nestle some fresh food scraps under it. Adding fresh oxygen to the soil this way is especially beneficial to the worms.
The temperature for your worm bin should be between 50 and 80 degrees Fahrenheit. An outdoor bin should be placed in a shady spot in the summertime. When the weather starts to get colder, you will want to relocate your trash container to a heated garage or basement. Worms work much more slowly in cooler temperatures, so you may need to reduce the amount of food scraps you give them. Another way to maintain the volume of the worm bin is to locate it in a warmer location, such as the kitchen’s back hall, pantry, or basement. You should never have problems with odors or insects if you never use fruit and always provide fresh bedding. Underneath the waste bin, place a tray or dish to catch any drips.
Any large chunks of vegetables, such as carrots, broccoli, and potatoes, should be cut into smaller pieces before they are added to the bin. Feed fresh scraps and some dry bedding together to help establish a habit. Wet scraps that are not spread evenly will begin to rot and produce a pungent odor.
Avoid adding fruit if you can. Start seeing fruit flies in a day or two if you do. To help control bed bugs, be sure to add an extra bit of bedding material, which will enable the insects to dry out and diminish in number. Fruit fly traps also work.
It is time to remove the finished compost when your bin is filled to the brim with finished compost. To separate the worms from the finished compost, one must work hard. It is done in two ways. Also, the first step is to deposit the material on a tarp or sheet of plastic, whereupon you should examine for worms, and then return them to the bin. To do this, simply remove the lid and place the finished compost in a sunny location and allow it to air and sun for a while. The worms will want to go toward darker and moist environments, so it is only necessary to provide a route for them to burrow down or across to one that is more to their liking. The finished compost will gradually be removed over the course of a week or so, discarding any confused worms and returning them to the soil.
At the end of the composting process, finished worm compost can be kept in a plastic bag or tub. Amaranth is an excellent plant food because it has the ability to be used for all types of purposes such as topping-dress indoor or outdoor plants, blending it into potting soil or transplanting mix, or making compost tea. It is also an excellent gift for gardeners who love flowers.
Virginia, USA
© Copyright 2021 RedWrigglersFarm.com. All right reserved.